In response to the persistent challenges of low efficiency and significant errors inherent in traditional topographic surveying of cement mines, we have systematically investigated and applied drone technology for terrain mapping. Traditional methods relying on GPS-RTK field operations require extensive manual data collection, particularly in complex terrains where the number of survey points must be substantially increased to maintain accuracy. This not only prolongs the project timeline but also reduces the timeliness of deliverables. The modern cement mining industry demands high-efficiency and high-precision surveying methods, which motivated our adoption of drone oblique photogrammetry. This paper presents the fundamental principles of drone technology, the workflow for topographic map production, and a detailed case study of a cement mine. The results demonstrate that the drone-based approach achieves 1:500 scale accuracy while significantly reducing field effort and turnaround time.
Drone Oblique Photogrammetry Technology
The core of drone oblique photogrammetry lies in using a multi-rotor or fixed-wing unmanned aerial vehicle equipped with a multi-lens camera system. In our implementation, we employed a five-lens configuration (one nadir lens and four oblique lenses) to collect high-resolution images from multiple angles along pre-defined flight lines. The nadir lens captures top-down textures, while the oblique lenses capture side details of objects. This configuration dramatically increases image overlap and geometric constraints during processing, which is crucial for accurate 3D reconstruction. The relationship among flight height \(H\), pixel size \(a\), camera focal length \(f\), and ground sampling distance \(GSD\) is given by the fundamental equation:
$$ H = \frac{f \cdot GSD}{a} $$
In practice, for oblique images the effective distance from the camera to the terrain is larger for side-looking cameras than for the nadir camera. Therefore, to maintain consistent resolution across all images, we carefully calibrated the focal lengths of the oblique lenses. This calibration is essential for achieving uniform ground resolution in the aerial triangulation process. The drone technology we adopted offers significant advantages over conventional methods: it provides centimeter-level positioning accuracy, enables rapid data acquisition over large areas, and allows access to hazardous or inaccessible zones without risk to personnel. The flexibility and ease of operation of modern drone platforms make them particularly suitable for mining environments where terrain changes frequently.
| Parameter | Value |
|---|---|
| Number of lenses | 5 (1 nadir + 4 oblique) |
| Focal length (nadir / oblique) | 24 mm / 35 mm (calibrated) |
| Sensor pixel size | 4.4 µm |
| Flight altitude (above ground) | 120 m (typical) |
| Ground sampling distance (nadir) | 2.2 cm |
| Side overlap / Forward overlap | 70% / 85% |
| Number of images per flight (for 0.5 km² area) | ~2,500 (5-lens total) |
| Time to cover 1 km² | ~1.5 flight hours |
Workflow for Topographic Mapping of Cement Mines
The production of a 1:500 scale topographic map using drone technology involves two main phases: field data acquisition and office data processing. The complete work sequence is described in the following steps.
Field Data Acquisition
Ground Control Points (GCPs). First, we converted the mine boundary into KML format and imported it into mapping software to design control point locations spaced approximately 500 m apart, with additional points near area corners. Each point was assigned a unique ID. Field operators used mobile navigation apps to locate these predetermined positions, then painted targets on the ground. We collected three-dimensional coordinates of each target using GPS-RTK equipment, ensuring multiple observations per point and recording the average. To later validate the topographic map accuracy, we also selected 10 well-distributed check points (independent from control points) in the survey area and recorded their coordinates along with site photographs.
Flight planning and image collection. Using the DJI Pilot 2 software, we designed a block flight with side overlap of 70% and forward overlap of 85%. The flight altitude was set to achieve a target GSD of about 2 cm for the nadir images. Before takeoff, we performed systematic checks of the drone platform (propeller tightness, battery connection) and the camera system (exposure test, storage card function, and POS data logging). The autonomous flight mission was then executed, collecting approximately 2,500 multi-view images along with 750 POS records (position and orientation of each exposure). Manual inspection confirmed that all images had adequate contrast and brightness, meeting the quality requirements for subsequent processing.
Office Data Processing
Aerial Triangulation. Aerial triangulation (AT) is the critical step that determines the accuracy of all subsequent products. We evaluated several commercial software packages (Reconstruction Master, DJI Terra, Smart3D, ContextCapture Center, etc.) and selected Smart3D for our AT work. We created a new project, imported all images and POS data, entered camera calibration parameters (focal length, principal point offset, lens distortion), and ran the initial tie-point extraction and bundle adjustment. After checking the quality of the recovered epipolar geometry, we added ground control points by manually identifying their image locations and performing a block adjustment with the control constraints. The resulting mean square error of the control points was 0.015 m in both planimetry and height, which meets the 1:500 topographic mapping specification.
3D Model Generation. After completing the aerial triangulation in Smart3D, we exported the AT results in XML format and imported them into ContextCapture Center (CCC) for dense 3D model reconstruction. We divided the survey area into 1500 m × 1500 m tiles for parallel processing, using the OSGB output format. The final real-scene 3D model captured the mine terrain with high fidelity, including complex rock faces, benches, and vegetation features.
Topographic Map Compilation. We chose EPS software as the main platform for vector map extraction. The workflow involved loading the project template (XML configuration), generating a DSM (Digital Surface Model), and then drawing features directly on the 3D model in EPS. For contour generation, we applied the “horizontal slicing method”: by systematically adjusting elevation values and intersecting the model with horizontal planes, we obtained continuous contour lines. Elevation points were automatically sampled from the DSM with uniform density, then manually edited to remove outliers (e.g., points on vegetation). The preliminary vector map was exported as a DWG file. Finally, we performed field verification (walkover) to check completeness and correctness of features such as roads, structures, and boundaries. After editing, the final 1:500 topographic map was produced.
| Step | Software / Method | Key Output / Accuracy |
|---|---|---|
| Aerial triangulation | Smart3D | Control point RMSE: 0.015 m (XY, Z) |
| Dense point cloud & 3D mesh | ContextCapture Center | 1500 m × 1500 m tiles, OSGB format |
| Contour generation | EPS (horizontal slicing) | 0.5 m contour interval |
| Vector extraction | EPS | Points, lines, polygons for features |
| Final topographic map | AutoCAD + field verification | 1:500 scale, DWG format |
Case Study: Cement Mine Topographic Survey
We applied the described drone technology to a typical cement mine requiring a 1:500 topographic map. The survey area covered approximately 0.8 km² with moderate relief, including mining benches, stockpile areas, and access roads. The following sections detail the key aspects of the application.
Control Point Layout and Field Measurement
We designed 15 ground control points (GCPs) with a spacing of about 500 m, plus 5 additional points near the boundaries to strengthen the block geometry. Additionally, we placed 10 independent check points for accuracy assessment. All points were surveyed using a dual-frequency GPS-RTK receiver with a base station set up on a known bench mark. The nominal accuracy of the RTK survey was 1 cm + 1 ppm in horizontal and 2 cm + 1 ppm in vertical. We recorded each point after three independent occupations and averaged the results. The field operation for GCP measurement required about half a day.
Image Acquisition
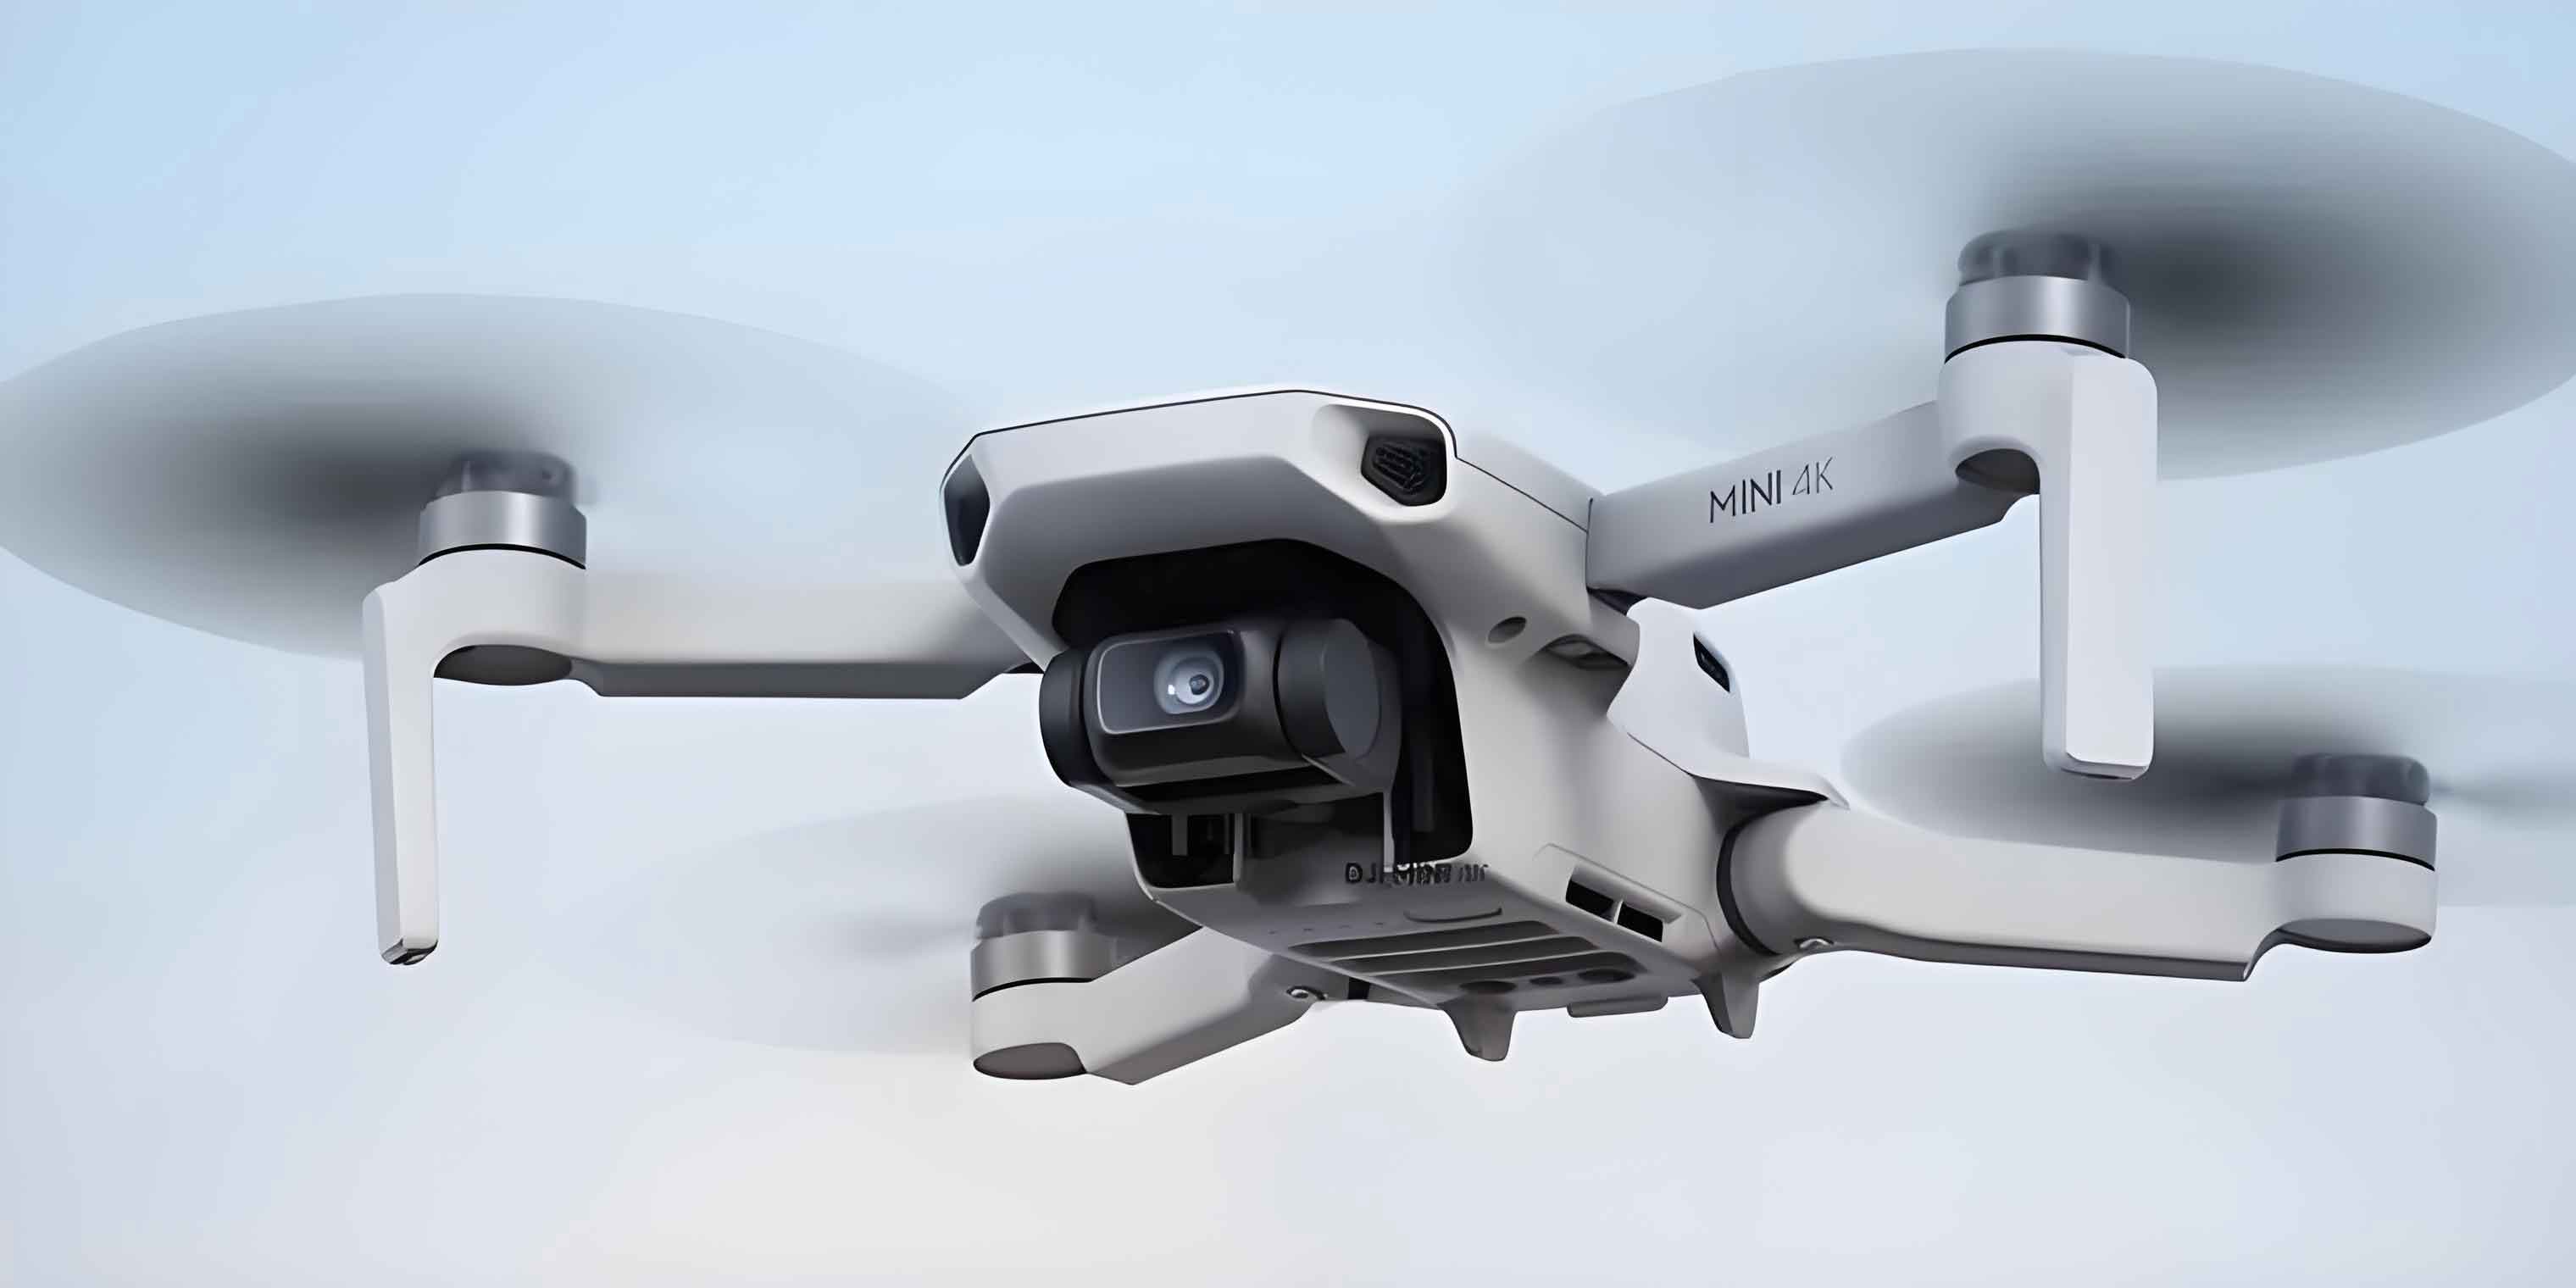
A DJI M300 RTK drone equipped with a Zenmuse P1 (full-frame 45 MP) camera was used for nadir imagery, and a five-lens oblique camera (DJI M600 Pro + D-RTK 2) for multi-view images. However, we found that using a dedicated five-lens oblique system (e.g., a custom payload with 5 × 24 MP cameras) provided better overlap consistency. The flight was performed at an altitude of 120 m AGL, yielding a nadir GSD of 2.2 cm. The oblique lenses had a longer focal length (35 mm) to match the resolution of the nadir images at the larger slant range. We flew 8 parallel strips covering the entire mine area, with a total of 2,500 images. The flight time was approximately 40 minutes, including takeoff and landing.
Aerial Triangulation Results
After importing images, POS data, and camera calibration files into Smart3D, we performed automatic tie-point extraction (20,000 features per image). The initial bundle adjustment showed a relative orientation accuracy of 0.3 pixels. After adding the 15 GCPs (each marked in at least 6 images), we ran the final adjustment. The control point RMSE was 0.015 m for both planimetry and height, which is well within the 1:500 map tolerance (typically 0.10 m for planimetry and 0.15 m for contours). The check points (10 points) were not used in the adjustment, and their residuals are presented later in the accuracy analysis.
3D Model and Topographic Map
Using the AT results, we generated a 3D mesh model with 2 cm resolution in ContextCapture Center. The model clearly showed the mine benches, haul roads, and even small boulders. The DSM was exported at 5 cm resolution. In EPS, we used the horizontal slicing method to generate contours at 0.5 m intervals. Elevation points were automatically placed every 20 m along contours and every 50 m in uniform terrain. Manual editing corrected about 5% of the points that fell on vegetation or misidentified features. The final vector map included land use classes, roads, buildings, and the mined area boundaries. We then conducted a field check to verify all features; discrepancies were found only in areas obscured by shadows or dense vegetation, which were later corrected using supplementary close-range photographs.
Accuracy Assessment and Discussion
To evaluate the accuracy of the final topographic map, we compared the coordinates of the 10 check points measured by RTK with the positions extracted from the 3D model (or from the map). The deviations are summarized in the following table.
| Check Point ID | ΔX (m) | ΔY (m) | ΔH (m) | Planimetric error (m) | 3D error (m) |
|---|---|---|---|---|---|
| CP01 | 0.012 | -0.008 | 0.021 | 0.014 | 0.026 |
| CP02 | -0.005 | 0.015 | -0.019 | 0.016 | 0.025 |
| CP03 | 0.018 | 0.011 | 0.025 | 0.021 | 0.033 |
| CP04 | -0.009 | -0.013 | -0.015 | 0.016 | 0.022 |
| CP05 | 0.007 | 0.009 | 0.018 | 0.011 | 0.021 |
| CP06 | 0.014 | -0.016 | -0.022 | 0.021 | 0.031 |
| CP07 | -0.011 | 0.006 | 0.020 | 0.013 | 0.024 |
| CP08 | 0.006 | -0.004 | -0.012 | 0.007 | 0.014 |
| CP09 | 0.022 | 0.018 | 0.029 | 0.028 | 0.040 |
| CP10 | -0.015 | 0.010 | -0.024 | 0.018 | 0.030 |
| RMSE | 0.013 | 0.012 | 0.021 | 0.017 | 0.028 |
The root mean square error (RMSE) of the planimetric check points is 0.017 m, and the RMSE of the height is 0.021 m. These values satisfy the 1:500 scale accuracy requirements (which typically demand RMSE ≤ 0.10 m for planimetry and ≤ 0.15 m for height). The largest deviation (CP09) was located near a steep rock face where the oblique imagery had slightly lower coverage; however, the error remained within acceptable limits.
The reason for the high accuracy of drone technology in this application is twofold. First, the multi-angle imaging provides dense geometric constraints, minimizing systematic errors during bundle adjustment. Second, the ability to capture the entire area with high overlap (85% forward, 70% side) ensures that every ground point is observed in many images, which improves triangulation stability. Compared to traditional total station or RTK-only surveys, drone technology reduces field time by approximately 80% for this 0.8 km² site, while delivering comparable or better accuracy.
It should be noted that the accuracy depends heavily on the quality of ground control points and the calibration of the camera system. In our study, we used survey-grade GPS-RTK for GCPs and performed rigorous self-calibration with the bundle adjustment. The influence of vegetation was mitigated by the high overlap and careful manual editing during map compilation.
Conclusion
We have demonstrated that drone oblique photogrammetry is a highly effective technology for topographic mapping of cement mines. The methodology combines a five-lens oblique camera system, automated flight planning, precise aerial triangulation, and real-scene model generation to produce 1:500 scale topographic maps with centimeter-level accuracy. In the specific case study, the planimetric RMSE was 0.017 m and the height RMSE was 0.021 m, meeting the required specifications. The drone technology dramatically reduces field labor (by over 80% compared to conventional methods) and shortens the overall project timeline from weeks to days. Moreover, it provides richer spatial information that can be reused for volume calculations, mine planning, and visualizations. We believe that this technology offers a reliable and efficient solution for the cement mining industry and can be extended to other mining and infrastructure surveying applications. Future work will focus on automating the contour generation process further and integrating real-time kinematic processing to eliminate the need for ground control points in some scenarios.