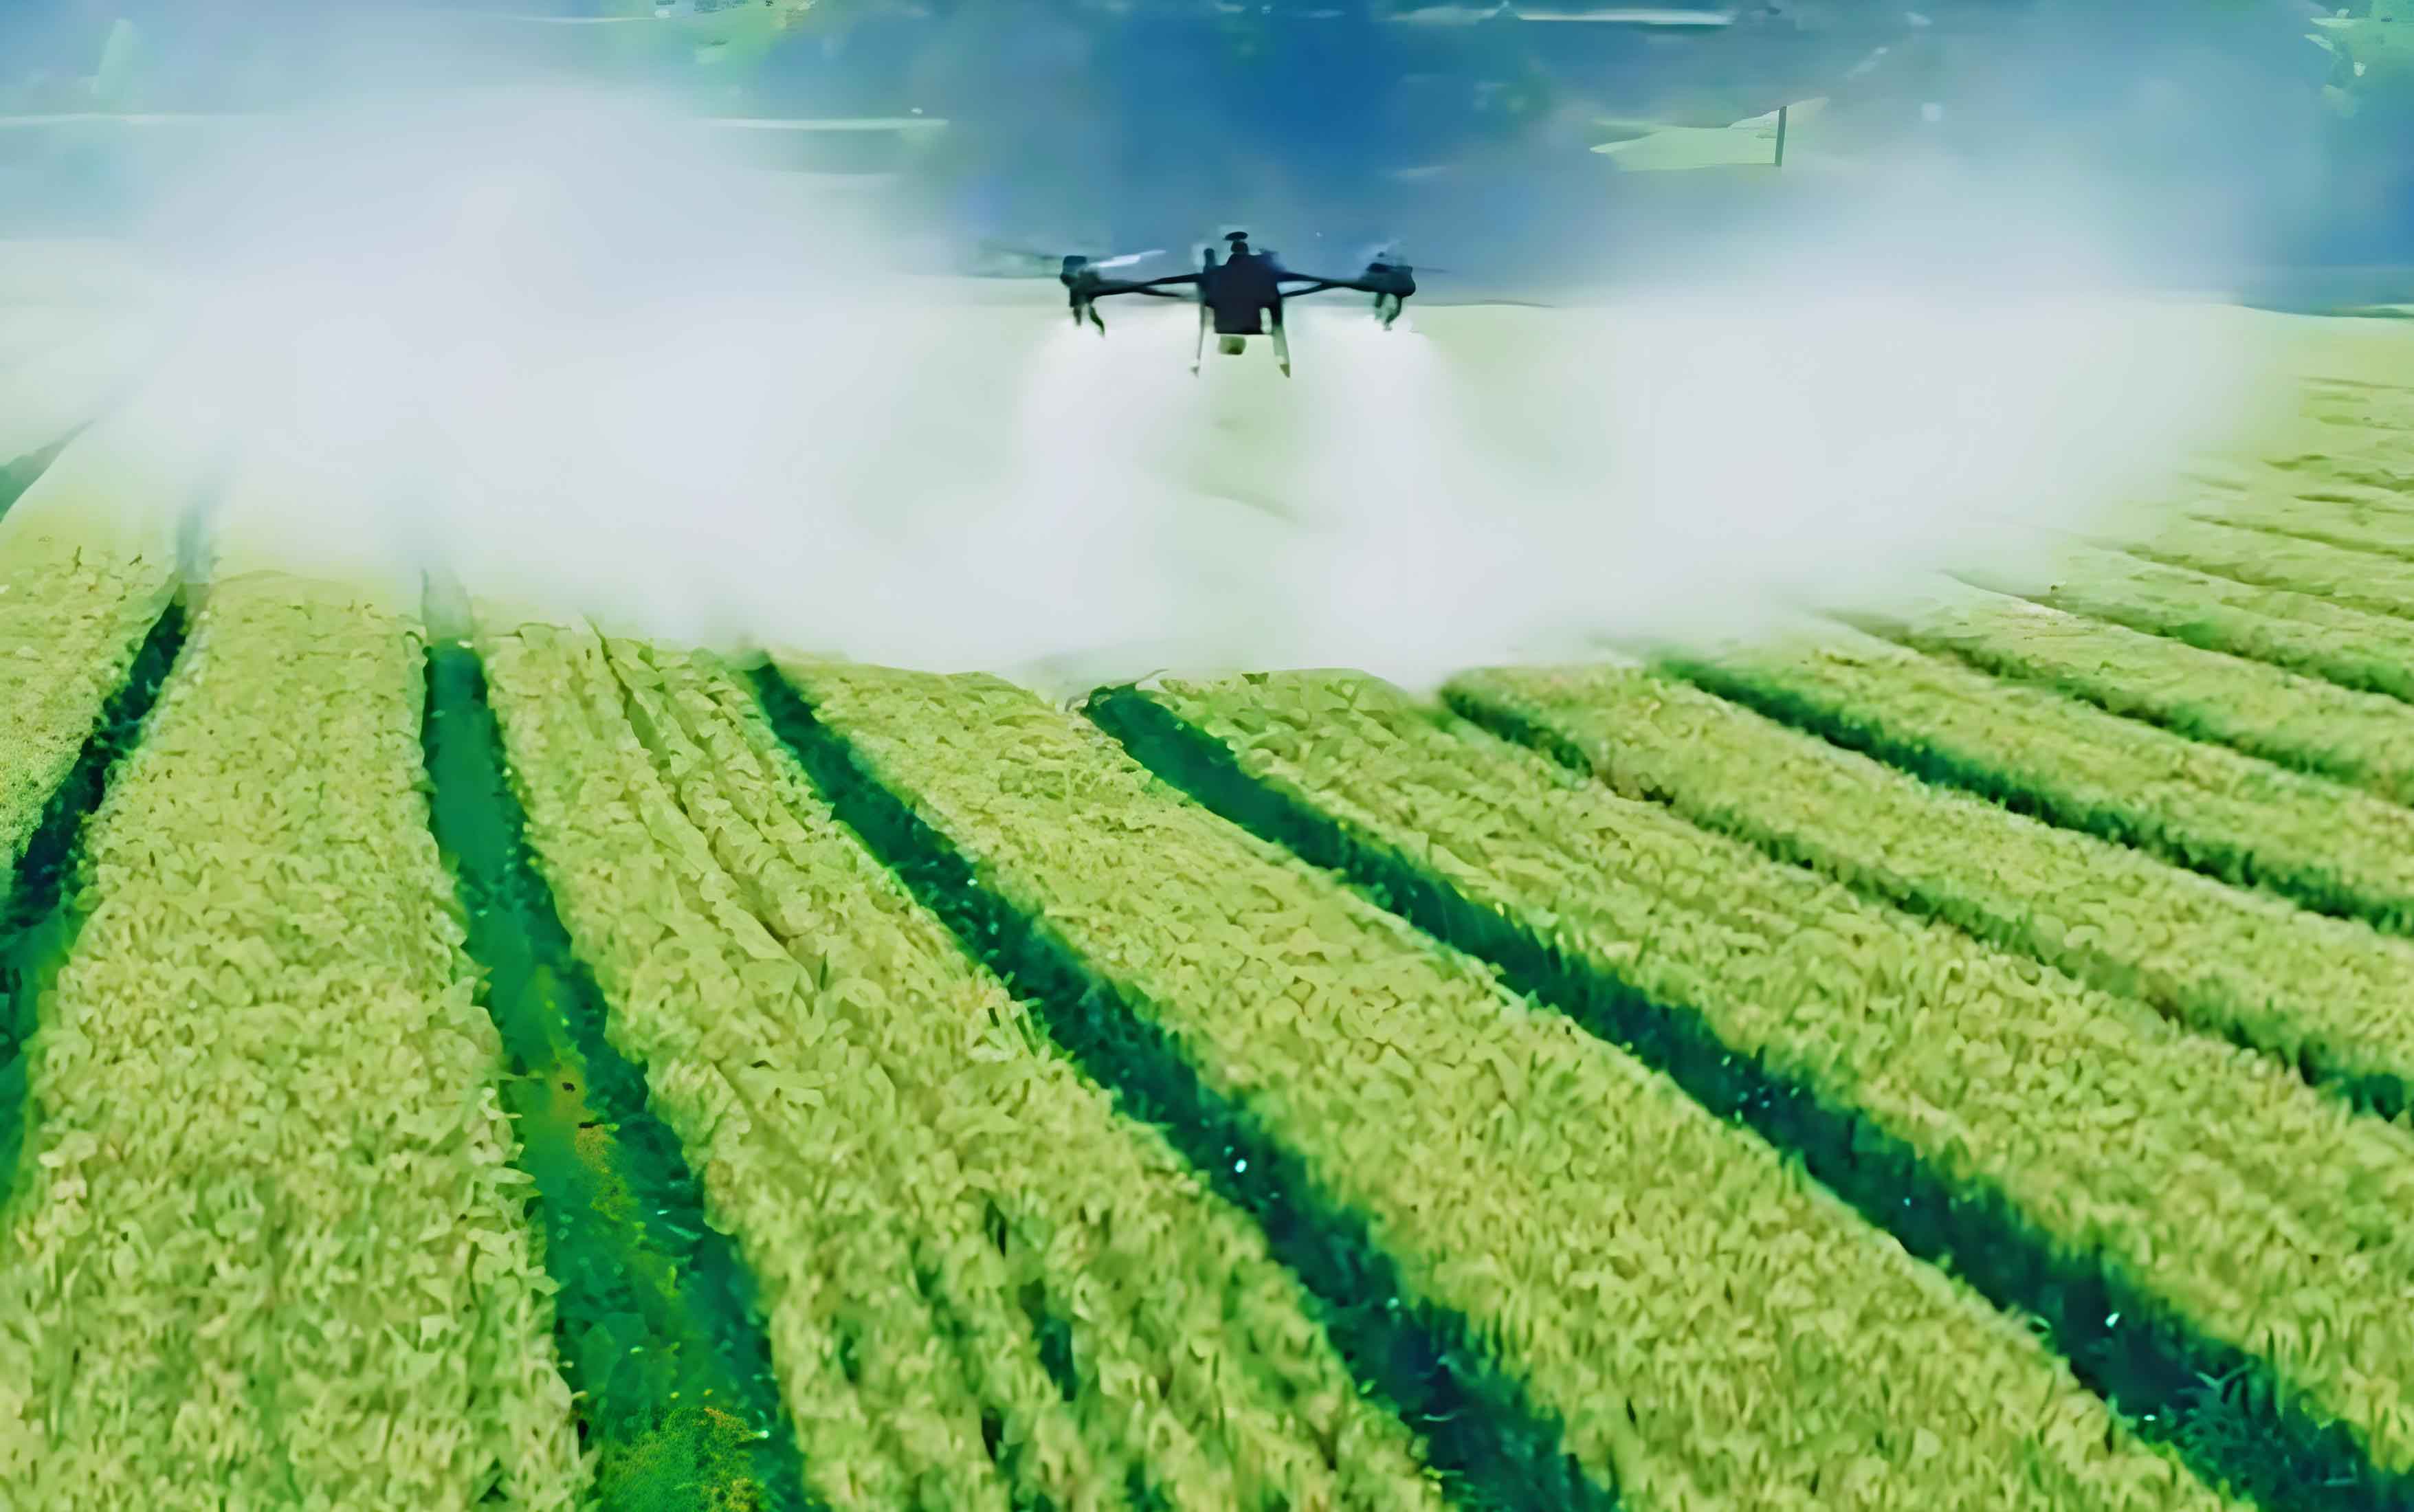
The precise and efficient application of crop protection agents is a cornerstone of modern agriculture. In this context, agricultural UAVs (Unmanned Aerial Vehicles), or drone sprayers, have emerged as transformative tools. Their ability to operate rapidly over difficult terrain, reduce water consumption, and potentially minimize operator exposure to chemicals has led to their widespread adoption. However, the efficacy of any spray application—whether from a ground rig or an agricultural UAV—hinges on the quality and consistency of the spray pattern. Parameters such as droplet spectrum, distribution uniformity, and flow rate consistency are critical for ensuring effective pest/disease control while mitigating environmental drift. Therefore, robust and standardized testing methodologies are essential for evaluating and optimizing the spray systems deployed on these platforms.
Outdoor field trials, while ultimately necessary, are subject to significant variables: wind, temperature, humidity, and complex canopy structures. These factors make it difficult to isolate and study the intrinsic performance of the spraying hardware itself. Consequently, there is a pressing need for controlled indoor testing platforms that can provide reproducible, weather-independent evaluations of spray systems. This article details the design and implementation of a sophisticated control system for a dedicated spray performance test bench, engineered to assess the spray characteristics of various nozzles, boom sections, and complete agricultural UAV systems.
Test Bench Architecture and Operational Principle
The spray performance test bench is a large-scale mechanical structure designed to simulate the deposition process from an aerial sprayer in a controlled environment. Its primary function is to collect spray liquid across a defined sampling area and subsequently measure the collected volume in each sample to calculate deposition uniformity and consistency.
The core mechanical assembly consists of several integrated subsystems:
- Spray Collection Assembly: A large, inclined collection surface (or series of gutters) funnels the deposited spray into an array of individual sample tubes or containers.
- Vertical Lift Mechanism: A motorized system to precisely position the spray unit (e.g., a nozzle bank or a mounted agricultural UAV) at a specified height above the collection plane.
- Sample Rack Indexing Mechanism: A motorized rack that holds the sample tubes. It can rotate or flip between two primary positions: a “collection” position aligned under the gutters and a “measurement” position aligned with sensors.
- Negative Pressure System: A high-volume extraction fan system mounted beneath or around the collection area. This creates a downward airflow, mimicking the downwash effect of an agricultural UAV‘s rotors and ensuring spray droplets are drawn decisively into the collection gutters, preventing drift and mist within the test chamber.
- Liquid Level Measurement System: A motorized carriage that travels along the sample rack, equipped with non-contact ultrasonic or optical sensors to measure the height (and thus volume) of liquid in each sample tube.
The operational sequence is managed automatically by the control system:
1. The spray unit is elevated to the target height.
2. The sample rack is rotated to the “collection” position.
3. The negative pressure fan is activated.
4. The spray unit is engaged for a preset duration, depositing liquid into the tubes via the collection gutters.
5. Spraying stops, and the sample rack rotates to the “measurement” position.
6. The sensor carriage traverses the rack, stopping above each tube to acquire a liquid level measurement.
7. Measurement data is transmitted to a central computer for processing, display, and storage.
8. Finally, the rack can be commanded to an “dump” position to empty the tubes, completing the test cycle.
Control System Design Philosophy
To achieve high automation, precision, and repeatability, the test bench employs a distributed control architecture. The system is bifurcated into an upper-level supervisory computer (Host PC) and lower-level real-time control units (microcontrollers). This hierarchical design separates complex data processing and user interface tasks from time-critical hardware actuation and sensor reading.
The overall control strategy is visualized in the following system block diagram, illustrating the data flow and component relationships:
Overall Control System Architecture:
[ Host PC (LabVIEW) ]
         ||
     [RS485 Bus]
         ||
    /           \
[MCU #1]     [MCU #2]
    |             |
[Peripherals] [Peripherals]
- Host PC (Supervisory Level): Utilizes National Instruments LabVIEW, a graphical programming environment ideal for creating custom test, measurement, and control applications. It provides the user interface for parameter setting, test sequencing, real-time data visualization, and report generation.
- Communication Bus: An RS-485 serial network is employed for robust, multi-drop communication over longer distances within the test facility. It links the Host PC to all lower-level controllers.
- Lower-Level Controllers (MCUs): Two dedicated microcontroller units (MCUs) form the core of the real-time control system. This dual-MCU approach enhances reliability by segregating functions and minimizing electromagnetic interference between power electronics (like motor drives) and sensitive measurement circuits.
- MCU #1: Primarily responsible for motor control functions. It interfaces with variable-frequency drives (VFDs) for AC fan motors and stepper/servo motor drivers for the lift, rack rotation, and sensor carriage mechanisms.
- MCU #2: Dedicated to data acquisition and sensor management. It reads signals from limit switches, proximity sensors for positioning, and analog outputs from the liquid level sensors via an Analog-to-Digital Converter (ADC).
Hardware Circuit Design and Implementation
The robustness of the control system is rooted in carefully designed electronic circuits interfacing the MCUs with the physical world of motors and sensors.
1. Microcontroller Core Circuit
The STC15W408AS microcontroller was selected for its sufficient I/O pins, integrated hardware features, and reliability. The core circuit includes power conditioning, a crystal oscillator for timing, and appropriate pull-up resistors on critical lines to ensure stable logic states. Key I/O pins are allocated for specific functions: serial communication (TXD, RXD), I²C bus for the ADC (SCL, SDA), digital outputs for relay drivers, and digital inputs for limit sensors.
2. Power Supply Circuit
The system operates on multiple voltage rails. A switched-mode power supply (SMPS) provides a bulk 12V or 24V DC. Critical sub-circuits, particularly the MCUs and logic chips, require stable, low-noise 5V DC. This is achieved using an LM2596 step-down switching regulator module, chosen for its efficiency and built-in protection features. The circuit incorporates input and output capacitors for filtering and stability. The governing principle for the regulator’s output is derived from its internal feedback network, but a key relationship in power design is ensuring current capacity meets the total load:
$$ P_{load} = \sum (V_{device\_i} \times I_{device\_i}) $$
where the total load power \( P_{load} \) must be less than the power supply’s rated output, with a safety margin.
3. Actuator Drive Circuit
MCU pins cannot source enough current to drive relays or contactors directly. A two-stage driver circuit is implemented. First, a 74HC240 inverting buffer cleans up and marginally strengthens the MCU’s logic signal. This signal then feeds into a ULN2803 Darlington transistor array, which acts as a high-current sink. When the MCU output is logic-low, the corresponding ULN2803 output transistor saturates, completing the circuit to ground and energizing the relay coil connected between the positive supply and the transistor’s collector. The built-in clamp diodes in the ULN2803 suppress voltage spikes generated by the inductive relay coils when they de-energize.
4. Communication Interface Circuit
Reliable data exchange is vital. The RS-485 standard is used for its differential signaling, which provides excellent noise immunity in electrically noisy industrial environments. A MAX485 or similar transceiver chip converts the MCU’s standard UART (TTL-level) signals to the differential RS-485 signals (A, B lines). The chip’s Driver Enable (DE) and Receiver Enable (/RE) pins are controlled by the MCU to manage the direction of communication (half-duplex). Termination resistors (typically 120Ω) are placed at both ends of the bus to prevent signal reflections.
5. Data Acquisition Circuit
The liquid level is measured using an ultrasonic sensor with a 4-20 mA analog current output, proportional to distance. A precision 100Ω shunt resistor converts this current to a measurable voltage (0.4V to 2.0V). This small analog voltage is digitized by an ADS1112 16-bit ADC, which communicates with MCU #2 via the I²C serial bus. The high resolution of the ADC is crucial for accurately discerning small volume differences between samples. The fundamental conversion is:
$$ V_{sense} = I_{sensor} \times R_{shunt} $$
$$ Digital\,Value = \frac{V_{sense}}{V_{ref}} \times (2^{n} – 1) $$
where \( I_{sensor} \) is the 4-20 mA signal, \( R_{shunt} \) is 100Ω, \( V_{ref} \) is the ADC’s reference voltage, and \( n \) is the ADC’s bit resolution (16 for the ADS1112).
6. Sensor and Limit Switch Interface
Inductive proximity sensors and mechanical limit switches provide positional feedback. These devices typically operate at 12V or 24V. To protect the 5V MCU inputs, an optocoupler (e.g., PC817) is used for each channel. When the sensor is activated, its output drives an LED inside the optocoupler, which illuminates a phototransistor on the isolated side, pulling the MCU’s input pin low. This provides complete electrical isolation, breaking ground loops and preventing high-voltage transients from damaging the microcontroller.
Software Design: Lower and Upper Levels
Lower-Level (MCU) Firmware
The firmware for both MCUs is written in efficient C language. It follows a state-machine architecture within a super-loop, augmented by interrupt service routines (ISRs) for time-critical events like serial communication.
Main Program Flow:
- Initialization: Configures system clocks, I/O ports, serial baud rates, ADC parameters, and timers. Variables and states are reset.
- Main Loop: Continuously checks:
- The serial buffer for incoming commands from the Host PC.
- The status of limit switches and proximity sensors.
- Internal flags set by timers or ISRs.
- Command Parser: Decodes received command packets. A typical packet structure includes a header, device address, command code, data payload, and a CRC (Cyclic Redundancy Check) for error detection.
- Task Execution: Executes the commanded action, such as turning a motor on/off, setting a VFD frequency, moving the sensor carriage to a specific position, or initiating an ADC conversion cycle.
- Data Response: Upon completing a sensor read or a commanded action, the MCU formats a data packet and transmits it back to the Host PC.
- Watchdog Timer: A hardware watchdog timer is periodically reset by the firmware. If the software ever hangs, the watchdog times out and triggers a full system reset, ensuring high reliability.
Upper-Level (LabVIEW) Host Application
The LabVIEW Virtual Instrument (VI) is the operator’s primary interface. It is constructed using a modular “G” programming approach. Key modules include:
- Communication Manager: Configures the PC’s serial port parameters (COM port, baud rate, parity) using VISA functions and handles all packetized communication with the MCUs.
- Test Sequence Controller: Allows the operator to define a test profile (spray height, duration, fan speed) and executes the steps automatically: positioning, fan start, spray trigger, data collection, etc.
- Data Acquisition & Processing: Requests sensor data from MCU #2, converts the raw ADC values into engineering units (milliliters of liquid), and applies any necessary calibration corrections.
- Real-Time Visualization: Displays the deposition data numerically in an array and graphically as a bar chart or a 2D contour map, providing immediate visual feedback on spray uniformity.
- Data Logging & Reporting: Saves all test parameters, raw data, and calculated metrics (like Coefficient of Variation, CV%) to a structured file (e.g., .csv or .txt). It can generate summary reports in formats like Excel.
The command set for controlling the test bench hardware is standardized. The table below summarizes the core command structure for different devices.
| Controlled Device | Command Address | Data Field (Example Hex & Meaning) |
|---|---|---|
| Negative Pressure Fan (VFD) | 0x200 | 0x8000 (Run), 0x0000 (Stop) |
| Lift Mechanism | 0x210 | 0x8000 (Up), 0x4000 (Down), 0x0000 (Stop), 0xC000 (Home/Reset) |
| Sample Rack Rotator | 0x220 | 0x8000 (To Measure), 0x4000 (To Collect), 0x2000 (Dump), 0x0000 (Stop) |
| Sensor Carriage | 0x230 | 0x8000 (Start Scan), 0x0000 (Stop), 0xC000 (Return to Home) |
System Validation: Fan Speed Control Test
A critical subsystem requiring precise control is the negative pressure fan, as its speed directly influences the downwash simulation. The system uses a Variable Frequency Drive (VFD) to control the standard 3-phase AC induction motor. The VFD’s speed command is sent via the RS-485 link using a protocol like Modbus RTU.
Test Objective: To verify the accuracy and linearity of the fan speed control by comparing the commanded frequency to the actual measured rotational speed.
Theoretical Basis: The synchronous speed \( n_s \) of an AC induction motor is determined by the supply frequency \( f \) and the number of motor pole pairs \( p \):
$$ n_s = \frac{60 \times f}{p} $$
For a standard 4-pole motor (\( p = 2 \)), the formula simplifies to \( n_s = 30 \times f \). It is important to note that the actual rotor speed \( n_r \) will be slightly less than the synchronous speed due to “slip,” which is load-dependent:
$$ n_r = n_s \times (1 – s) $$
where \( s \) is the per-unit slip.
Procedure: The VFD frequency was incremented in steps from 10 Hz to 50 Hz. At each setpoint, the actual fan shaft speed was measured using a calibrated optical tachometer. The test was conducted under no external air-load (free inlet/outlet) to establish a baseline.
Results and Analysis: The data from the validation test is presented below.
| Commanded Frequency, \( f \) (Hz) | Theoretical Sync Speed, \( n_s \) (RPM) | Measured Speed, \( n_r \) (RPM) | Calculated Slip, \( s \) (%) |
|---|---|---|---|
| 10 | 300 | 291.6 | 2.80 |
| 20 | 600 | 585.9 | 2.35 |
| 30 | 900 | 833.9 | 7.34 |
| 40 | 1200 | 1112.2 | 7.32 |
| 50 | 1500 | 1333.3 | 11.11 |
The results confirm a strong linear relationship between commanded frequency and achieved motor speed, validating the control loop. The increasing slip at higher frequencies is expected behavior for the motor under test and is consistent across multiple runs, demonstrating the system’s repeatability. The integration of the VFD control via the central agricultural UAV test bench software allows for precise and reproducible simulation of different downwash intensities, a key factor when testing spray systems intended for different sizes and types of agricultural UAVs.
Conclusion
This article has presented a comprehensive control system design for an advanced spray performance test bench. By adopting a distributed architecture based on a dual-microcontroller core and a LabVIEW-hosted supervisory interface, the system achieves a high degree of automation, precision, and reliability. The detailed hardware design, encompassing robust communication, isolated sensor interfaces, and powerful actuator drives, ensures stable operation in an electrically noisy environment. The modular software design on both the lower and upper levels facilitates easy maintenance, expansion, and adaptation to new test protocols.
This integrated control system transforms the mechanical test bench into a powerful and versatile research tool. It enables standardized, quantitative evaluation of spray systems under perfectly controlled and repeatable conditions, decoupling hardware performance from unpredictable environmental variables. The ability to automatically collect, process, and report data on spray deposition uniformity and flow consistency is invaluable for researchers, nozzle manufacturers, and agricultural UAV developers alike. By providing a reliable platform for optimizing spray parameters, this system contributes directly to enhancing the efficacy, efficiency, and environmental safety of crop protection operations conducted by modern agricultural UAVs.